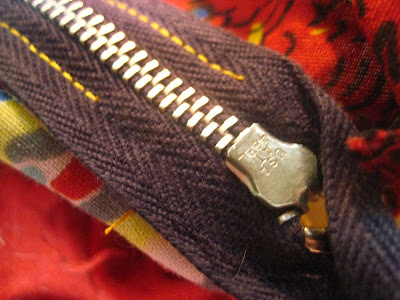
Many would consider a broken zipper on a treasured garment a true tragedy. You fiddle with the teeth, trying to smush them back into place or attempt to sneak the pull back onto the tape with mounting frustration. I know. I've tried. And it never works. But I'm here to tell you that there is hope. Replacing a zipper is actually a rather quick and easy fix.
Last year I gained a little extra weight and split the zipper of one of my favorite dresses while trying to squeeze into it (as if the weight wasn't insult enough!) So my dress hung lonely and broken, untouched for months. Fortunately, I managed to lose the pounds this past fall, so it seemed about time to fix up the old girl and wear her out.
What You'll Need
Sewing Machine
Zipper
Thread
Seam Ripper
Straight Pins
Scissors
Iron
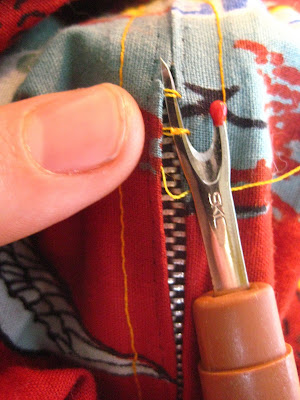
1. The first step is to get rid of that broken zipper. Use your seam ripper to break the thread that is connecting the zipper tape to your garment, being careful not to damage the fabric.
2. Once you're removed the broken zipper, press the seam where the zipper used to be flat with an iron. This gives you a nice fresh start and helps to keep your seam neat.
3. Turn your garment inside out and use a basting stitch to close up the seam where the zipper used to be.
A basting stitch is the longest stitch length on your machine. This seam helps your finished zipper set to look neat and professional. It is an aid, not a finished seam, which is why we use a basting stitch: a basting stitch is big and loose and easily removed. If you don't know how to change the stitch length on your machine, consult your owner's manual.
4. Next we go back to the iron and press this seam open.
I forgot to take a picture of my own seam pressed open, so here is an image I found online, in case you don't know what I mean by "pressed open."
5. Now, with the garment still inside-out, we pin the new zipper to the seam we just pressed open. The front side, the side with the zipper pull should be facing down, pressed up against the fabric. Be sure to carefully align the zipper teeth with the seam.
Depending on your level of comfort and where you stand on the perfectionist scale, you may want to hand baste the zipper in place, so you don't have to worry about your zipper shifting around under the needle and you can sew from the outside of the garment. I usually skip this step out of pure laziness.
6. Next, you need to switch the presser foot on your machine to a zipper foot, which allows you to sew right up next to the zipper teeth. Most zipper feet can be used on either the right or the left, depending on which side of the zipper you are sewing.
7. Stitch your zipper to the garment, straight through from zipper tape to the face of the fabric on the outside of your garment, being careful not to catch any other parts of your garment in the stitching (if you hand-basted your zipper in place, you can do this step from the outside of the garment, giving you more control over how neat your stitching looks from the outside).
Your zipper foot should find a sweet spot where it nestles up against the zipper teeth and rides them down in an effortlessly straight line. But don't mess with that zipper pull! It's big and bulky, and it will mess up your nice straight line. Just leave it alone; we'll finish off the top later.
Don't run over any metal bits! You'll break your needle. Do give the zipper stop at the bottom a few runs as you sew around your zipper. Pause at the bottom and sew back and forth over the base a couple times.
8. Once you've got your zipper sewn in place, all except for around the zipper pull at the top, turn your garment right side out and rip out that basting with a seam ripper.
9. Go ahead and unzip your zipper.
10. Now that the zipper pull is out of the way, you can go back and finish off the top. Be sure to back-stitch at those top edges so your stitching doesn't come out!
And there you have it. Everything back in working order!
A new lease on life! And I even threw in a bonus package and slapped some satin ribbon over those hardworking seams.
Cheers and good luck,


Love the PS!
ReplyDelete:-) mom