
So, I teach this sewing class for 3rd-6th graders, and this semester it's
ALL AMERICAN GIRL, ALL THE TIME.
Adorable, right?
For Halloween, we're working on witch hats for our American Girl dolls.
But don't fret: All you need is a head circumference to make this hat in any size!
Not just for your American Girl Doll.
For your Barbie!
For your dog!
For your child!
For you!
For your school mascot!
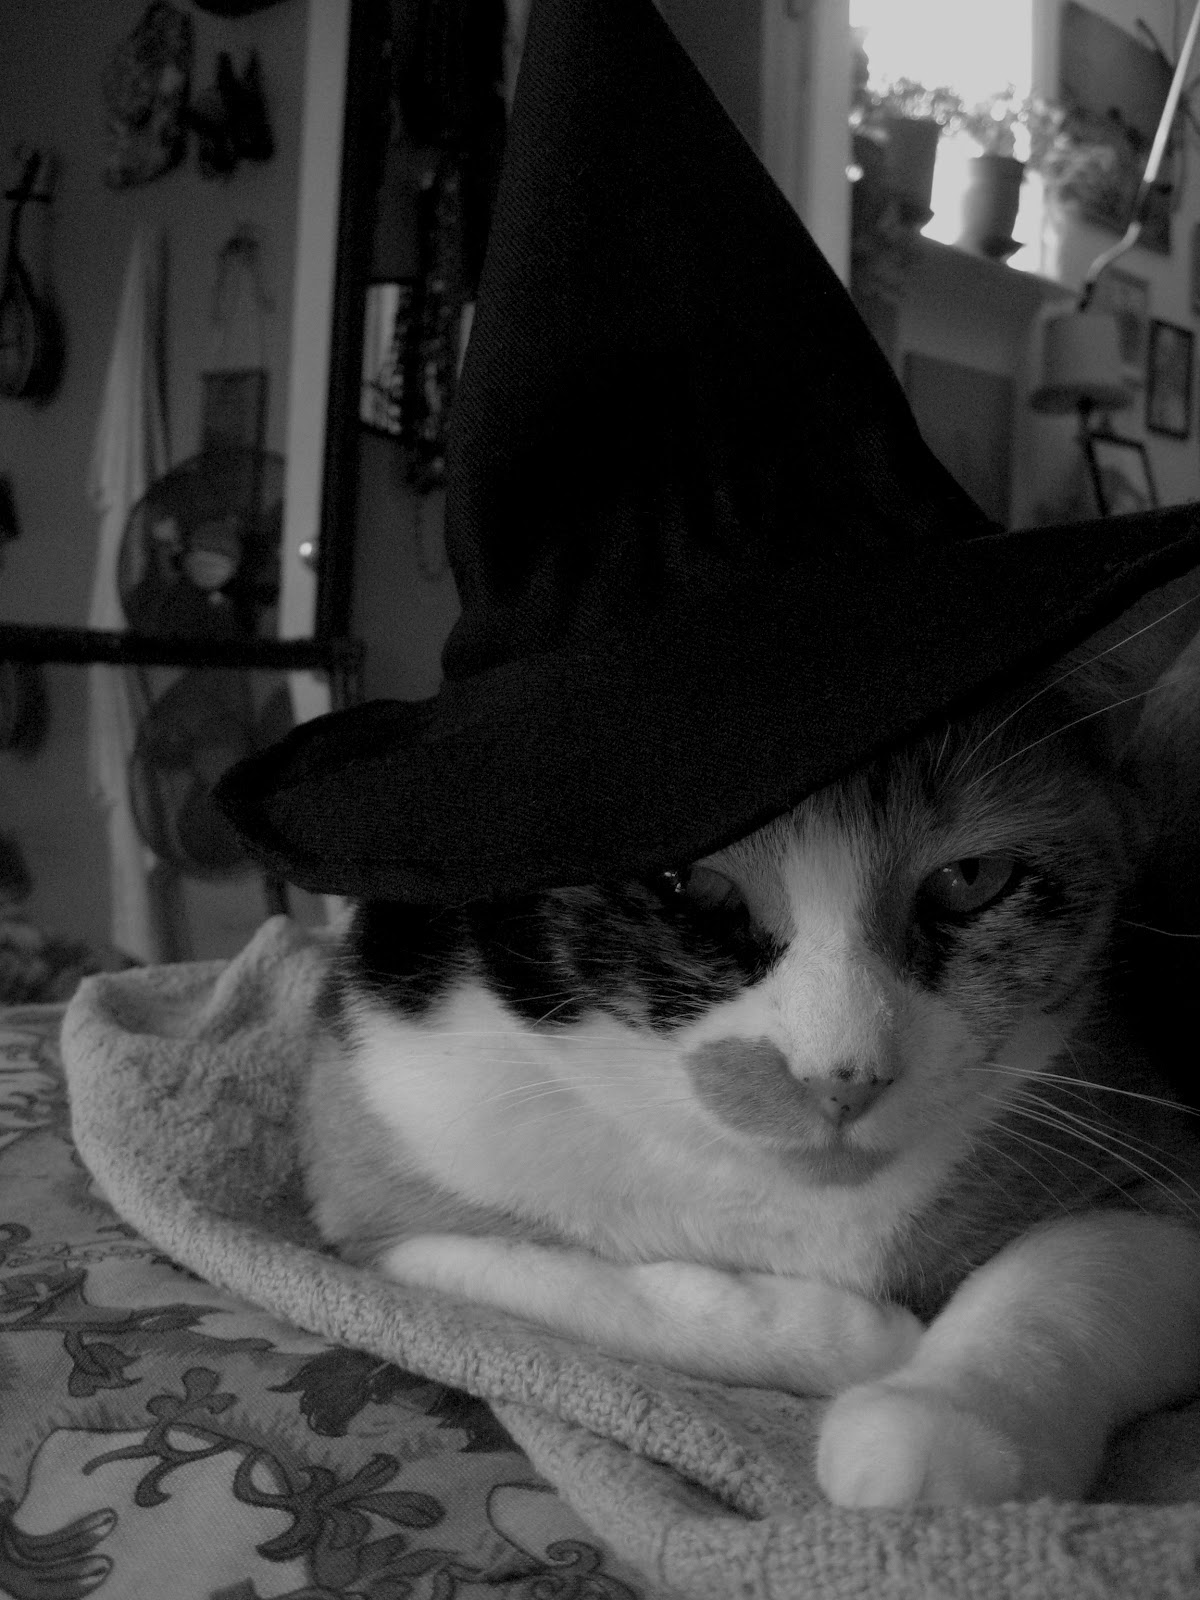
Fortunately, American Girl doll size is also a perfect cat size, so even though Molly and I don't spend much time together any more, my witch hat fits Dinah all too perfectly...
 |
| Witchy Kitty |
What You'll Need to Make the Pattern
Measuring tape
Calculator
Compass
Paper
(opening up paper grocery bags is a great source for big paper for patterns)
Pencil
Ruler
Scissors
Measure your head circumference. Now put on your high-school-math-thinking-cap. We have our circumference. We want to find the radius of that circle.
( Circumference ÷ pi ) ÷ 2 = radius
Remember that? Make sense?
Now that we have our radius, we can open our compass just that wide, and draw ourselves a perfect head-sized circle.
Add 1/2" seam allowance inside that circle
Add your desired brim width outside that circle
Add 1/4" seam allowance beyond the brim
It should look something like this:

The outer shape of the pattern is what you need to cut out of your fabric. The pencil lines represent your stitch lines.
Note: For a larger hat you may want to divide the brim into 2 pieces to reduce fabric waste, or if your fabric isn't wide enough. If you do this, don't forget to add 1/2" seam allowance on both sides of the divide!
Now for the top. We have to make something that looks like this:

How tall do you want the point to be? My tiny hat has a 6" peak. Every point along the bottom curve is equidistant from the point, and the bottom curve is the same length as your head circumference.
The best way to do this is to start with a point and using a ruler, measure and mark your peak height from that point a bunch of times, until you have a semblance of a curved line approximately lent enough. Measure your curved line and mark your head circumference, making sure it is perfectly symmetrical, saddling your peak point equally.
Add 1/2" seam allowance all the way around.
Cut out both pattern pieces and mark them as shown (if we're being professional, or if you want to share your pattern, or if you want to save your pattern and possibly use it again at some future occasion at which time you may have forgotten what the heck this pattern is all about).
- I always label my patterns with a title, in this case Witch Hat, so I know what the pattern pieces are for.
- Then I label which part of the pattern it is, in this case Hat and Brim, so I know which part is which.
- Then I draw an arrow indicating grain, so I know where to line up the length grain when I cut. (This is irrelevant in the case of full circles, like my brim)
- Finally I write how many pieces to cut out of what material. "Self" is the main fabric. "Inter" is fusible interfacing.
Pattern complete!
Happy Halloween!
No comments:
Post a Comment