Showing posts with label Halloween. Show all posts

Thursday, November 1, 2012

Autumn Leaves, Pressed and Pretty

Upon the coming threats of Hurricane Sandy last Sunday, I made the last minute decision to hop in my boyfriend's truck and hitch a ride up to Northampton, Massachusetts with him. Given the devastation to New York City public transportation, I ended up with a week-long Western Mass vacation! And coming from my cement jungle, I couldn't help but notice the beautiful autumn foliage. Walking the path between my boyfriend's home and downtown Northampton, picking up colorful leaves was just about impossible to resist.

What to do with them? Press them, of course! Fast and beautiful art.


Place your leaves neatly between the pages of a book.


Close up your book and put it at the bottom of a pile of books. The heavier the better! Leave them there for a few days to get good and flat.

Now brush a healthy coat of Mod Podge (or similar glue/sealer) on your paper, underneath where you will place the leaf.


Quickly! Before it dries! Place your leaf where you'd like it on the page and seal it with a full coat of Mod Podge. For a consistent finish, coat the entire surface of the page.


Give your leaf another coat or two, until it is satisfactorily glued to the page.
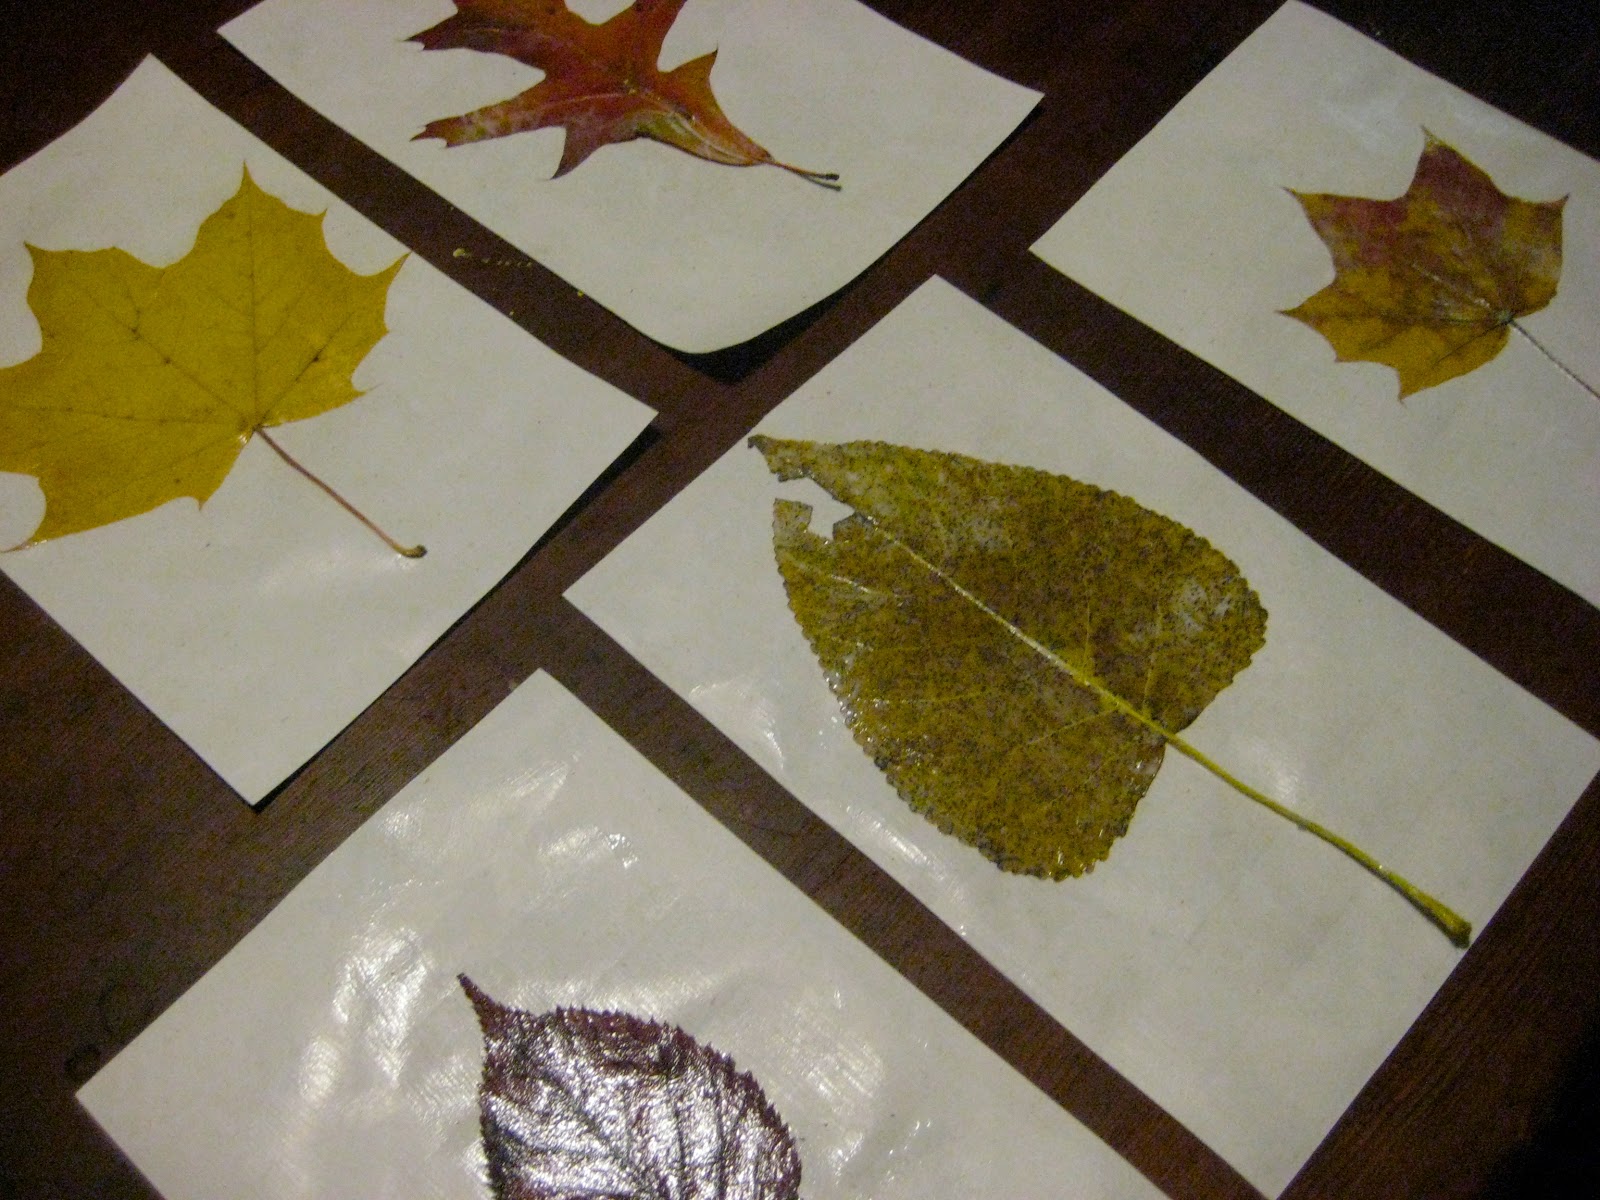


After they're dry, put them back under that pile of books for a few days if your paper curled from the glue. And once I get home to my calligraphy pens, I think I might label my leaves in pretty cursive for a little extra something.


I picked up this beauty today, so it's not ready quite ready for gluing. But I'm excited about it! I love the contrast of all those itty bitty leaves to my large, singular leaves. And that it will run off the page at the edges. A bit unexpected, I think.


Frame, or just hang up with push pins or binder clips for some beautiful fall wall art! I'll post pictures once I get mine finished and hanging.


With love,


Click here to see the finished product...


For more on pressing, check out last spring's flower pressing post...


Thursday, October 25, 2012

Witchy Woman: The Hat

What You'll Need

Fabric
Fusible Interfacing
Binding or Grosgrain Ribbon
Scissors
Sewing Machine
Thread
Pins
Iron
Wire (optional)


Using the pattern you made back here, cut your fabric as indicated, and fuse your hat and one of your brim pieces with interfacing. You will have something like this:


With right sides facing, sew the outer edge of your brims together, at 1/4". Clip your seam allowance as shown below (this makes for a nice smooth edge once you flip it right-side out).


Flip right-side out and give a good press.


Fold your hat piece in half and sew at 1/2" to make a cone.


Clip your seam allowance to taper off at the pinnacle to avoid Lumpy Point Syndrome.


Flip right side out. Set your cone into your brim, pin and sew the cone to only the top layer of the brim.


Pin and sew your binding or grosgrain ribbon around the inside of the bottom layer of your brim.


At this point, if you so desire, insert a ring of wire into your brim. It should sit inside the very outer edge of the brim, and will keep your brim from flopping.

Clip the seam allowance behind the binding, so that it has room to stretch. Pin the upper edge of your binding to the inside of the cone and sew with a blind hem stitch.


Finé!

Brou-ha-ha!