Showing posts with label home and garden. Show all posts

Friday, November 30, 2012

Bless this House: Visible Storage

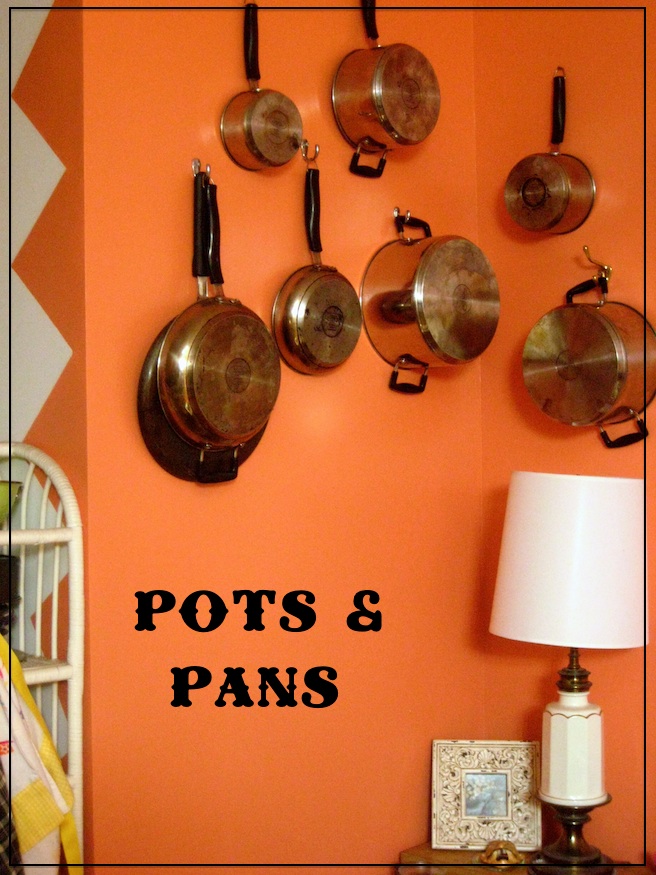
I've been seeing it all over the pages of Country Living and House Beautiful and the like: visible storage. It's cool to take the doors off you cupboards, replace cabinets with shelves and hang your possessions on the walls like art.


Of course, as a New Yorker with a habit of accumulating, visible storage is just about the only option. The added benefit is that your things become more organized! Spread things out, you don't have to be confined to cabinet space anymore. Put them in pretty jars with hand-punched labels. Hang your pans on the wall, and you'll never again have to take them all out just to get to the big one on the bottom.

But the real reason I do it is because I like my home to be busy and colorful, full of texture and pattern.  Why hide away all your things in closets and then wonder where to find art for the walls? The things you already own and use might be just the thing to bring some life to your home!


Happy Friday!


You can find the previous installments of Bless this House here:


Tuesday, November 27, 2012

It's Beginning to Smell a Lot Like Christmas

What smells more like Christmas than cloves and oranges? Okay, maybe pine does, but it's a darn close call! I don't know about you, but I'm getting in the spirit with some classic orange and clove room fresheners. If you've never made them before, do yourself a favor!


1. Wrap up an orange with string like you would ribbon on a present, leaving nice long tails.

2. Tie off those tails into a loop for hanging.

3. Push cloves into the orange around the string so it doesn't slip off.

4. Push lots of cloves into the orange however you please.

5. Hang up and breathe deep!


Monday, November 26, 2012

Turn a Mason Jar into a Travel Mug: Knit it a Cozy!

As they say, necessity is the mother of invention. A few weeks ago I was rushing off to work at some ungodly hour of the morning, made myself some coffee, but WHERE IN GOD'S NAME IS MY TRAVEL MUG??? So I dumped it into a mason jar and played hot potato all the way to work. And I thought, "Gee. This would actually make a pretty decent travel mug if I just knit it a little sweater..."

I am, of course, not the first one to think of this. I went home and pulled up dozens of them in a Google search, even specially designed lids for the express purpose of turning mason jars into travel mugs (from Cuppow, a company birthed for this product alone).

You can also turn a mason jar into a travel cup for cold drinks, but creating a hole in the lid for a straw. Here are three slightly different, but equally wonderful ways of doing it:

with a metal washer, from Fine and Feathered
with a rubber grommet (spill-proof!), from The Chick n Coop
with a plastic yogurt lid, from Crunchy Can Feel Good

For the love of mason jars! This is a great little knitting project for your scrap yarn; I finished mine in under 3 hours!


Gauge: 15 sts = 4 inches

On size 8 double pointed needles, CO 14 sts on each of your 3 needles (42 sts).
Join your first round and knit in a 1 x 1 rib for 5 more rounds.

Switch to size 9 double pointed needles.

Make 1 st at the beginning of your sixth round. (As you continue with the k1, p1 pattern, this extra stitch will transform your 1 x 1 rib into a seed stitch.)


Continue in seed st until piece measures 5 1/2" from CO.

Flat Jar Bottom: 
Knit 1 round in stockinette stitch.
*K1, k2tog, rep to end of round.
K 1 round
*K2tog, rep to end of round
K 1 round

Cut your yarn, leaving a tail of at least 6". Using a tapestry needle, thread this tail through your remaining stitches and remove the needles. Pull the yarn towards the inside of the cozy until the hole closes. Weave in the remaining tail of yarn and snip off the excess. Weave in the tail from cast on edge, and you're finished!


A note about knitting on double pointed needles:

A lot of people are afraid of double pointed needles. If this is you, trust me! They aren't nearly as scary as people make them out to be. The most difficult part is keeping your stitches tight between needles. So just pull tight between needles and everything will be okay. Be adventurous! Give it a try! However, if you don't want to, this same pattern could be knit on straight needles, then sewn up the side. Leave a longer tail at the end, and after you close up your last stitches, use this tail to sew the sides together. Piece of cake!


With love,


Wednesday, November 21, 2012

Wear Your Apron Low: Make an Apron You'll Love to Wear!

It's apron season! Love your apron! The best aprons are both practical for the kitchen and pretty enough to wear all night. So for Thanksgiving I've prepared you all a quick and simple apron DIY!


You can either trace an apron you already have that you like the fit of, or you can easily create your pattern directly on the backside of you fabric with a ruler, tape measure, tailor's chalk, and french curve.


With any symmetrical pattern, it is always best to draw out only half, then cut on the fold, you know it's perfectly symmetrical.

Start by standing in front of a mirror with a tape measure...

How wide do you want the bib to be?
How wide do you want the waist/body to be?
How long do you want the bib to be? (I always like to wear my aprons folded at the waist, so I added a few extra inches here)
How long do you want it to fall from the waist?

Using these measurements, draw out your apron pattern as in the above image, smoothing the corner between bib and waist to a curve with a french curve.

Fold at your center front line and cut.


Hem in all the edges around your apron.

Now for ties and pockets!


Ties can be made from twill strapping or a sturdy ribbon, if you have it, or you can make them from fabric. To make your ties, cut them to desired length + 4", and three times desired width. Iron and sew them as shown above, folded in half, with raw edges turned and sandwiched inside.


Cut pockets to desired width + 1" and desired height + 1 1/2". Fold and iron raw edges towards the inside on sides and bottom. Hem in top edge. Don't forget to sew the top edge (and only the top edge) before attaching the pocket to your apron.


Sew on ties with an X in a box!


Divide large pockets into sections to make them more useful!


Angle waist ties for a more flattering fit!


Ready for cooking!


Happy Turkey Day,


Tuesday, November 20, 2012

Bless this House: Entertainment Center

I love rearranging furniture. It breathes a whole new life into a room and costs nothing! Now, if you're thinking, "I would, but I just don't think my furniture would fit or look good any other way..." Cut the crap, sister. I have spent the entirety of my adult life in minuscule NYC apartments, and I have a TON of stuff. And I still rearrange on the reg. Even when I think there's no other way, I push some things around, and BAM! Who knew?

The point is, the last time we rearranged, we took things to a whole new level. It literally blew my mind how great the new arrangement was and how not possible I thought it was when we started. One product of that rearrangement was the Entertainment Center.

It isn't an entertainment center the way you might think of one. It's more like a quick and dirty, rental apartment solution to the ugly electronics we can't live without.


We just clustered them all together! Why didn't we think of it sooner??? With the aid of nothing but a little bitty end table and a simple shelf, we transformed what used to be a smattering of small eyesores into one larger, more acceptable piece of "furniture". That typewriter really did a lot. I couldn't stand the sight of that cheap, ugly keyboard until it was paired with a lovelier set of keys.


With love,


Sunday, November 18, 2012

Autumn Leaves: Part Two

So I've finally finished and hung my pressed leaves!


Click here to see Part One:


What I've learned: definitely label BEFORE you glue. Oops!

I was hoping to label them all like this:


But of course rolling my already glued leaves through the typewriter would have destroyed them. (Duh.)


Another thing I learned: When hanging anything with a single pushpin, make sure it's exactly in the middle!


And yet another thing I learned: I may have unconciously stolen this idea. I was cleaning my room the other day and found this:


Thanks, Country Living!


Love,


Thursday, November 1, 2012

Autumn Leaves, Pressed and Pretty

Upon the coming threats of Hurricane Sandy last Sunday, I made the last minute decision to hop in my boyfriend's truck and hitch a ride up to Northampton, Massachusetts with him. Given the devastation to New York City public transportation, I ended up with a week-long Western Mass vacation! And coming from my cement jungle, I couldn't help but notice the beautiful autumn foliage. Walking the path between my boyfriend's home and downtown Northampton, picking up colorful leaves was just about impossible to resist.

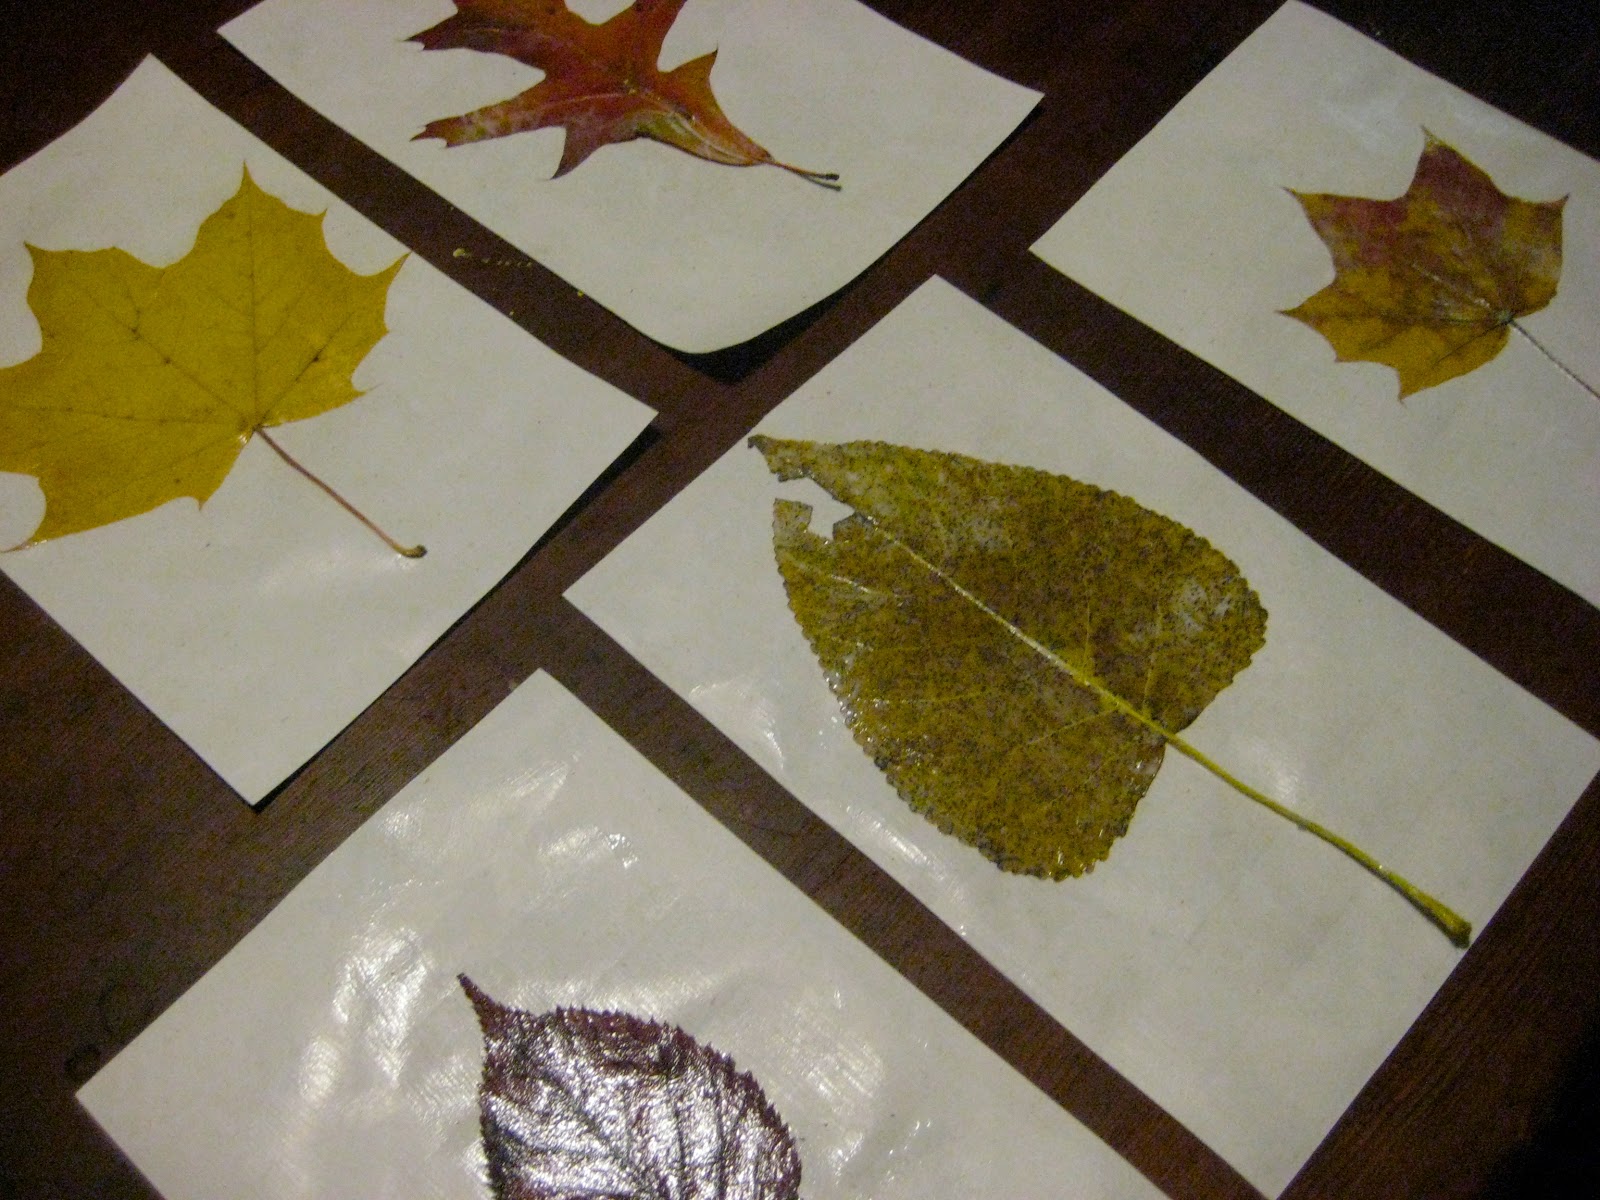
What to do with them? Press them, of course! Fast and beautiful art.


Place your leaves neatly between the pages of a book.


Close up your book and put it at the bottom of a pile of books. The heavier the better! Leave them there for a few days to get good and flat.

Now brush a healthy coat of Mod Podge (or similar glue/sealer) on your paper, underneath where you will place the leaf.


Quickly! Before it dries! Place your leaf where you'd like it on the page and seal it with a full coat of Mod Podge. For a consistent finish, coat the entire surface of the page.


Give your leaf another coat or two, until it is satisfactorily glued to the page.


After they're dry, put them back under that pile of books for a few days if your paper curled from the glue. And once I get home to my calligraphy pens, I think I might label my leaves in pretty cursive for a little extra something.


I picked up this beauty today, so it's not ready quite ready for gluing. But I'm excited about it! I love the contrast of all those itty bitty leaves to my large, singular leaves. And that it will run off the page at the edges. A bit unexpected, I think.


Frame, or just hang up with push pins or binder clips for some beautiful fall wall art! I'll post pictures once I get mine finished and hanging.


With love,


Click here to see the finished product...


For more on pressing, check out last spring's flower pressing post...