Showing posts with label jewelry. Show all posts

Tuesday, December 4, 2012

Medicine Bag: For the Hippy in Your Life

When I was 10 years old or so, my summer camp secret buddy made me a suede medicine bag. It was pretty cool. Then when I was a college freshman in fashion school, I rediscovered that medicine bag. I still thought it was awesome and started wearing it regularly. But in a room full of fashion majors, not without light-hearted ridicule. Someone even bought me crystals as a gag gift! I put them in my medicine bag and kept on wearing it.

This year, I came into lots of suede. And suddenly Native American paraphernalia is super hip. I thought about making medicine bags, and then mine broke! So it seems I was destined to share my medicine bag with you.


If you want to embroider or bead a design on your medicine bag, this is best done before cutting. I simply drew my design on with black and red sharpie, which can be done at any point!


1. Mark holes around the edge, about a quarter inch apart, on the inside. Puncture these markings through both pieces of suede with the awl.

2. Thread needle, knot a double strand. Start with your knot on the inside and sew back through the top holes again, creating a straight tack.

3. With the two pieces of suede on top of each other, right sides facing out, sew around the edge, passing the needle straight through your awl holes, front to back. This should create diagonal stitches.

4. Snip two vertical holes in the back, and six in the front.

5. Lace the long, skinny neck piece through these holes.

6. Tie, fill with crystals, and wear for good energy and hippy/Native American chic style!


Monday, December 3, 2012

DIY Gift Guide

For those of you looking for holiday gift inspiration, I thought I'd post a collection of my past DIYs that could make great gifts for your loved ones.


For the beauty in your life.


For the snuggle bunny in your life.


For the writer and doodler in your life.


For the elegant woman in your life.


For the stylishly farsighted in your life.


For the one who deserves pampering in your life.


For the stylishly funky in your life.


For the snow bunny in your life.


For the cook in your life.


For the technophile in your life.


For the gardener in your life.


For the animal lover in your life.


For the coffee or tea lover in your life.


Go forth and good luck!


Saturday, April 21, 2012

Librarian Paraphernalia: Taking it Back!

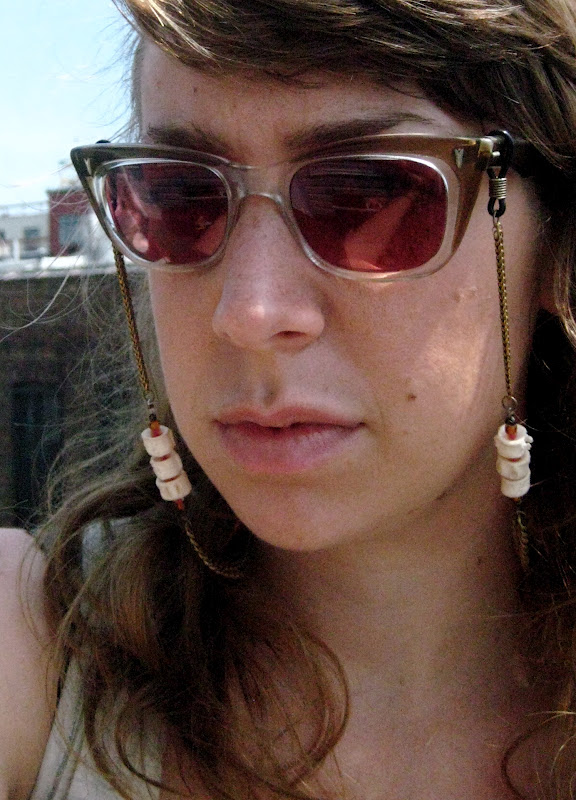
Summer. A season for two-eyed folks to join ranks with four-eyed folks. A season when the ocularly-blessed among us no longer have to envy the less fortunate because of the radical accessories they are prescribed to indulge in. I'm talking eyeglass chains. They are fabulously useful for keeping your glasses (whether prescription, sun, or ironic vanity) ever-handy. They adorn your glasses while you wear them, and transform them into the best kind of neckwear when you're not. And they are super easy to make!

Style options are infinite. If you need some inspiration, check out what Etsy sellers are offering. I went for kind of a steam punk vibe because I just happened to have brass chain and fish vertebrae hanging around.


 Most of the supplies you'll need will depend on your design, but the one thing you'll definitely need are adjustable rubber eyeglass chain ends.


These are available at most bead-crafting shops, online, or at the ends of those horrible neon eyeglass chains they sell at the drug store for next to nothing.

For instructions regarding basic beading techniques, visit my post from last June, To Bead or Not to Bead... (perhaps my corniest post title yet).

If you're using chain, you will need jump rings to connect the chain to the rubber ends. This is a simple task with just a pair of pliers or two. Just remember, always open and close jump rings laterally so as not to weaken or disrupt the circle.


 Now, go forth... be irrepressibly hip in a reminiscently secretarial fashion!


Cheers,


Melody

Wednesday, December 28, 2011

An Olive Branch

Now that we're all adults and receiving gifts is no longer the pinnacle of our Christmas celebration, my family has downsized to a secret Santa-variety exchange. This year I picked Danielle, my brother's fiance, out of the hat.

Naturally, I procrastinated until the very last moment. I wasn't sure I had the time to make her something, so I turned to Etsy. This shop caught my eye and I placed my order. Much to my dismay, I received an email from the seller to say she couldn't promise it would arrive by Christmas and all my plans were foiled! So I said, "Screw it. I'll make one myself!" 

Pros: I could personalize it with my own symbolic botanical choice; an olive branch, as well as the colors of my choice to suit Danielle's complexion.

The olive branch: a symbol of peace that dates back to Ancient Greece; traditionally worn by brides to symbolize a peaceful married life. It is a symbol of Danielle's humanitarian dedications, a symbol of peace between Danielle and I, and a symbol of peace in their upcoming marriage.

Cons: How the hell do I make a pendant out of an embroidered swatch?


The finished pendant

I began by researching botanical illustrations of the olive tree, using these two as my primary source material.


Illustration by Sally Petru


For my fabric, I chose a pale, blueish-gray wool. It was the perfect color; wool was an ideal fiber for its resilience and flexibility; and it conveniently happened to be the leftover accent fabric from a suit I made for my brother a few years ago, giving it additional symbolic heft.

I stretched my fabric in an embroidery hoop, and using my image source for reference, I sketched an olive branch lightly in pencil on the fabric.

Due to its size, I used basic sewing thread (rather than embroidery floss), leaning more heavily on the polyester and poly-silk threads for a shinier finish. For greater control, use a single thread, not a double thread (after threading the needle, knot just one tail end, rather than knotting both tails together).

Threaded and knotted needle

Pencil drawing with the first bits of embroidery

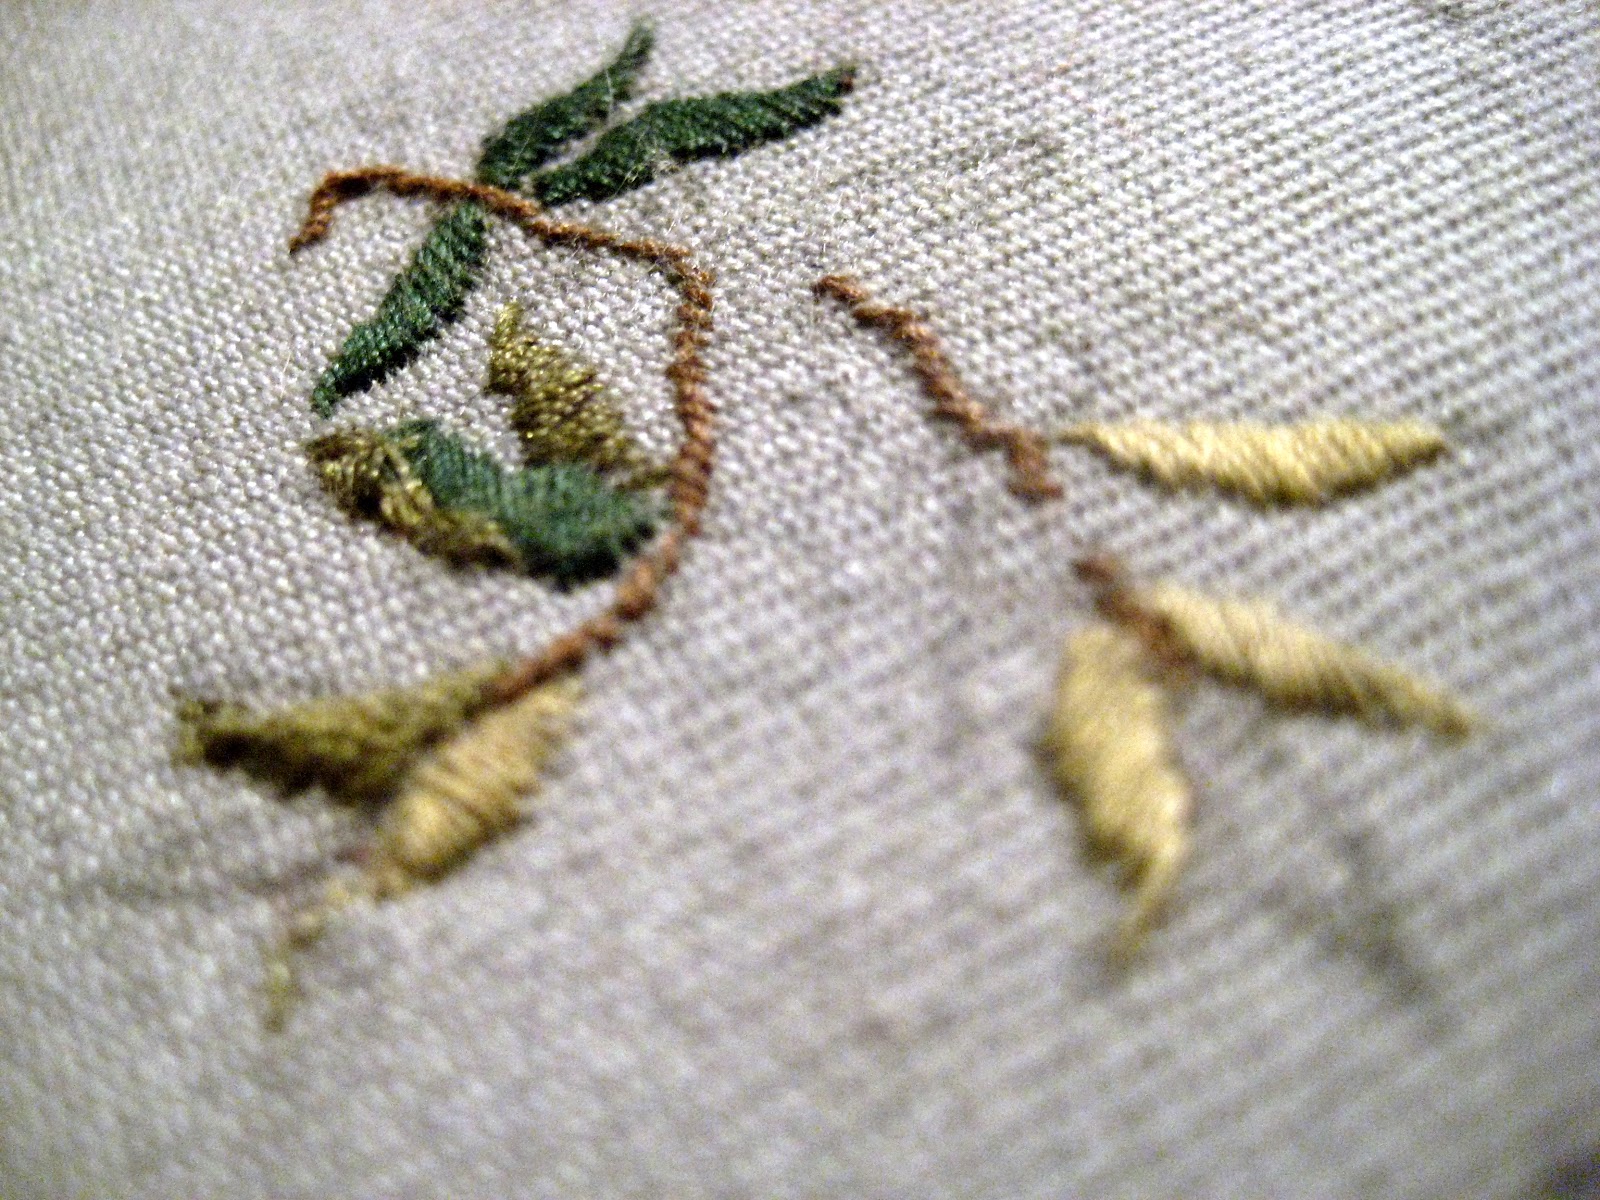
Now, I don't have any formal needlework experience, so I mostly made it up as I went along. Really I just used my thread to carefully fill in the shapes I had drawn out. For more detailed instructions on embroidery, there are plenty of excellent resources to be found online, including instructional videos on YouTube. The following are a few photographs documenting my progress.


To transform my embroidery into a pendant, I got the brass setting for a few dollars in a bin of secondhand odds and ends in Williamsburg jewelry shop, Brooklyn Charm. Anyplace that carries jewelry making supplies should have some variety of setting one could use for a project like this. I was very lucky to find one the perfect size for my embroidery, but certainly it would be a better idea to find your setting before you start your embroidery.

I cut a circle out of some heavy-duty chipboard I had lying around to fit inside my setting (with extra room for the fabric). The chipboard worked well for me, but if you don't have any around I would consider your other options. Metal or wood would be more durable solutions, but your primary consideration must be the construction of your setting.

I then cut out my embroidery, leaving a seam allowance of at least 1/4 inch. I cut a circle of the same size out of a backing fabric (I used a dark gray silk). I machine stitched around the edge of what would be visible of my embroidery and backing, serving as a barrier to keep your fabric from unraveling when you cut into it to fit it snugly around the back of the chipboard. I next glued my embroidery to the chipboard with craft glue (I recommend Sobo) and clipped triangles out of the seam allowance so that it would bend around the back of the chipboard and lay flat. I slipstiched the backing to the wool around the edge of the circle. This stitch should be invisible when done correctly, however, my setting covered this edge, so it was forgiving of flubs. Finally, I applied a thin line of glue around that edge and inserted it into the setting, sealing the stitching and securing the embroidery in place within the setting. 

Chains are very easy to assemble. All you need is some chain (purchasable by the foot at any jewelry supply store), jump rings, a clasp, wire-cutters, and needle nose pliers.

Jump rings on upper left-hand corner

Simply cut chain to desired length and connect pendant and clasp with jump rings. When opening and closing jump rings, never disturb the integrity of the circle by pulling the ends apart. Instead, open and close the ends of the ring laterally.

To round out Danielle's gift I did my own botanical illustration in Prismacolor colored pencils and Pigma Micron pen. My primary source material for this one was this image, a 19th century illustration by Franz Eugen Kohler.


I think my high school art teacher would be glad to know I've finally embraced calligraphy, after all the grief I gave her over our illuminated manuscript assignment. Using my new favorite calligraphy pen, I penned a message on the back of the card and addressed the envelope (handmade from re-purposed magazine pages).

Front of envelope
Back of envelope, sealed with a monogram (gold ink on black gaffers tape)

The finished necklace was set on a bed a recycled decorative paper in a re-purposed box, wrapped in magazine pages and topped with a bow made from the excess strips of magazine page paper.


Warm wishes for a happy holiday season!

Melody

Saturday, June 11, 2011

To Bead or Not to Bead, that is the Question.

In March of 2006 I found myself in one of the most incredible markets you've ever seen. Every Tuesday in Koforidua, Ghana, West Africa, the town square is a bustling bead market. And with an exchange rate of 9,500 cedis to the dollar, I was sitting pretty. I passed through Koforidua three times during my six-month stay in Ghana, and loaded up with just about as many beads as I could carry each time. Needless to say, I came home with a lot of beads. And now, five years later, I'm still sitting on hundreds, if not thousands, of sick beads. And for five years I've been intending to do something with them.

We also visited one of the bead "factories", if you can call an open-air community of bead-crafters a factory. Most of the beads are made from recycled glass bottles, which are pulverized, melted, colored, and poured into molds.

Bottles awaiting their transformation
Cleaning the finished beads


Well, I finally did it. I taught myself to bead properly, and I've been pumping these babies out like nothing else.


A Lesson in Basic Beading Techniques


What You Need:

Beads
Clasp
Jump ring
Nylon-coated bead stringing wire, available at any bead-crafting shop
Crimp beads
Needle-nose pliers
Wire cutters 


From top left: jump rings, crimp beads, lobster-claw clasps

Cut yourself a length of the nylon-coated bead stringing wire, about the length you want your necklace or bracelet to be, plus about 5 inches. If you can, it's easiest to start by attaching your clasp to one end of the wire; you'll be less likely to accidentally lose beads you've strung. But for symmetrical necklaces, you may need to start from the center and build outwards. No matter when you attach your clasp, this is how it's done:

Slide a crimp bead onto the wire, followed by your clasp. String the end of the wire back through the crimp bead and flatten it with your needle nose pliers. Tuck the tail through an inch or so of beads and cut off any excess.


Boom. Necklace. Easy as pie!


Contact me or visit my Etsy shop to purchase my designs, all featuring the fabulous beads I brought back from Ghana!


Cheers,
Melody

Friday, June 10, 2011

Feathers in Your Hair

At the age of twelve I received a Christmas gift of two feathery hair doo-dads. "Thank you," I said to the gift-givers, friends of my parents. "What a lame present," I thought to myself. I didn't wear them much, but they hung around in my possessions for nearly ten years before I fully realized their potential. I made a slight alteration, replacing the hair tie with a barrette so that I could clip it in my hair the way I wanted to, and started to wear it often. After dozens of complements, a number from subway strangers, I thought, "Maybe there's a market for this?" So I'm giving it a shot!

They're really simple to make!


What You Need

 Feathers
Leather or suede lace
Beads
Barrette


Your beads must have holes appropriately sized to fit snugly over two strands of your laces.

Thread the lace onto your barrette and fasten in place by sliding a bead up both strands of lace. Fasten your feathers to the lace by sliding a bead onto one strand of lace and fitting your feathers' stems into the eye of the bead until snug.


I've made all of my one-of-a-kind feather hair clips with authentic West African recycled-glass beads that I've had laying around since my 2006 trip to Ghana, and I'm selling them on my brand spankin' new Etsy Shop. Check them out, or contact me if you are interested in purchasing one!


Cheers!
Melody